The master bath, it's back. It continues! I know, right?! This time the vanity gets some updates, make it functional and organized with a spray bottle rack and a shelf unit.
It's a mess usually, a bathroom vanity, as it is for many people from what I see on the ol' internets. Too much stuff in too little space, too little time and feeling lost in a direction to fix it.
Clutter makes me bonkers, my brain won't function, and I'm not the only one. Clutter is also challenging to manage, it's frustrating, I get that.
A good way to get a grip on it is in small steps if one fell swoop is overwhelming. There are occasions where small steps work for me while other times it's a burn-it-down, all-or-nothing event so it's not a one-size-fits-all path. A lot of hyphens there.
Here, in the case of our master bathroom vanity, this thing, I still love it so, the insides were chaos and have been since, oh, well, since I installed it. So that's what, ooh dear, seven years?! Yikes.
Ok. Try not to let things go too long.
Over the years I threw bandages at it, a bin or a metal stacking shelf,* or another bin* or clearing it out, tossing unneeded items then stuffing stuff back in but obviously bandages are just that, temporary fixes.
As I'm back in there trying to complete the rest of the room, I opted to hit the vanity with some genuine concerted effort first. Cleared clutter, clearer mind.
What did that entail? Well of course there's the emptying everything out and sorting. After that, it was a hanging rack for spray bottles and a shelf unit.
Both of these were free-to-me solutions as I used scrap wood for the rack and leftover plywood from the laundry waterfall counter for the shelf, but either of these projects can be built inexpensively enough with purchased materials.
As usual, I went the DIY route because not only does it save me from buying anything else, especially more plastic but it's also tailored to the need, therefore it's more likely to be effective.
First in the master bath vanity updates, the spray bottle rack.
How did this come about? Ah ya know, reading online I saw these spray bottle holders* and at eleven bucks for two, too steep IMO. So I perused Google Images for DIY ideas (always a good place to begin) and whooie, came across a bunch.
The goal: hang the bottles to create more space, tucking the rack up as high as it could go out of sight.
Hit the workbench and felt simplest was best: a little piece of quarter inch ply, a leftover bit of square dowel from the laundry sink, and a piece of one-by. Trundling back upstairs, I held the pieces inside the vanity to get an idea of what I needed to do.
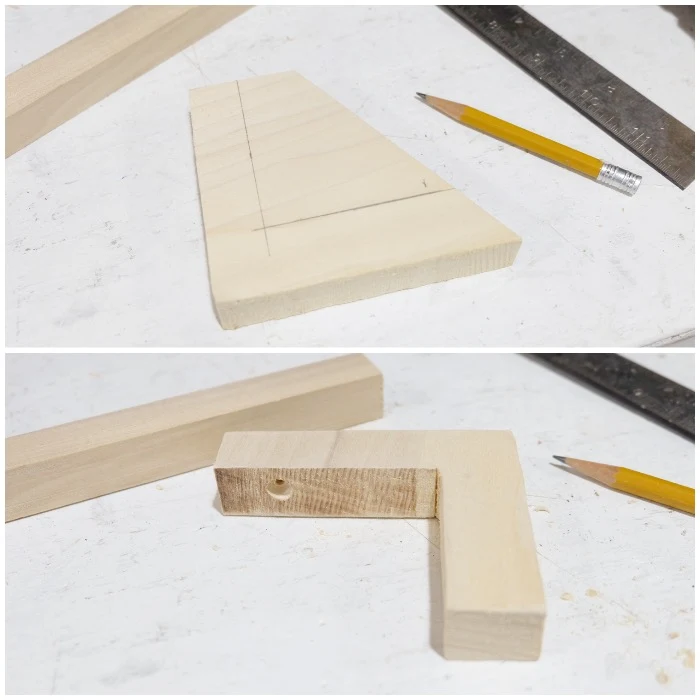
I trimmed the plywood piece down a bit then did a butt joint to the square dowel, pilot drilling a hole through, a dab of wood glue,* and screwed the two together.
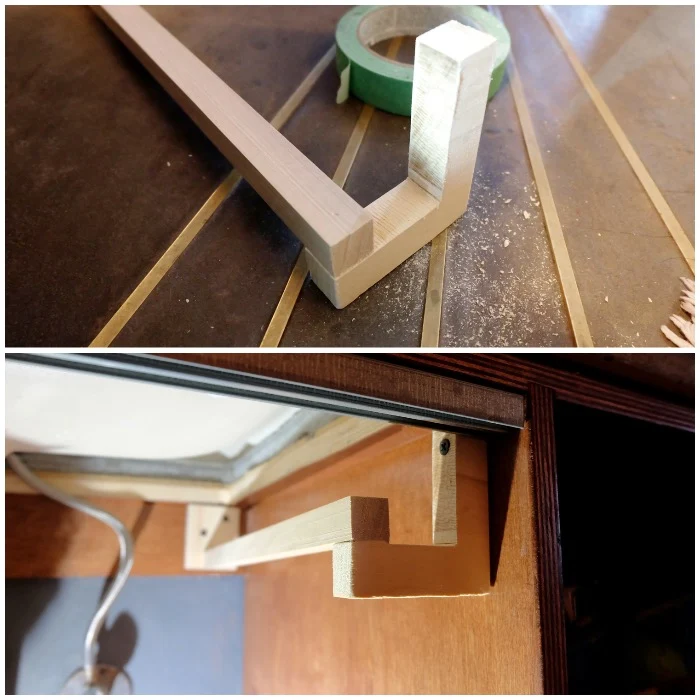
Next, I cut the piece of one-by into an L shape. The square dowel would rest on the horizontal part of the L where I glued and nailed it together.
With my fancy flip bit,* I drilled out a countersink hole in the vertical part of the L and it was ready to install.
Five minutes! Yeah. A five minute free-to-me spray bottle rack. Thumbs up.
I had to trundle back down and upstairs again (I need a workshop on every floor, dang it) as I forgot to trim the dowel/plywood assembly to size of course but it works! Yay! Organized and created space!
 |
| I know, next is eliminating spray bottles. Why do I have so many?! FYI, RainX* is great for glass shower doors. |
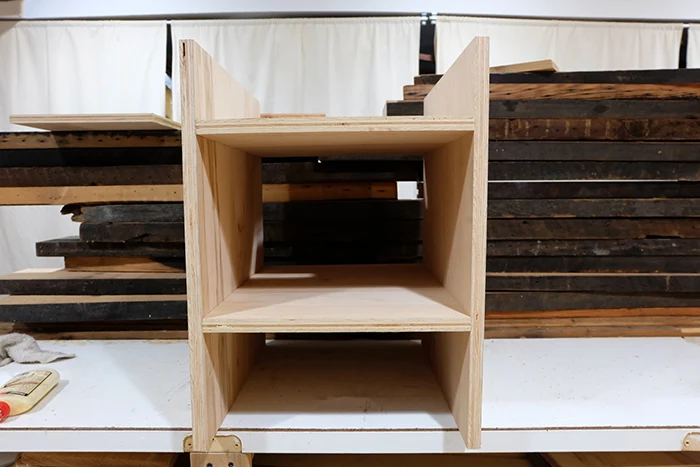
The bigger project was the shelf unit, part two of the master bath vanity updates.
Key things to measure: the inside space height, depth, width; the door opening especially any lip or transition into the cabinet; any other issues inside the cabinet such as plumbing, any support elements, etc; any bins or elements that will be residing in it.
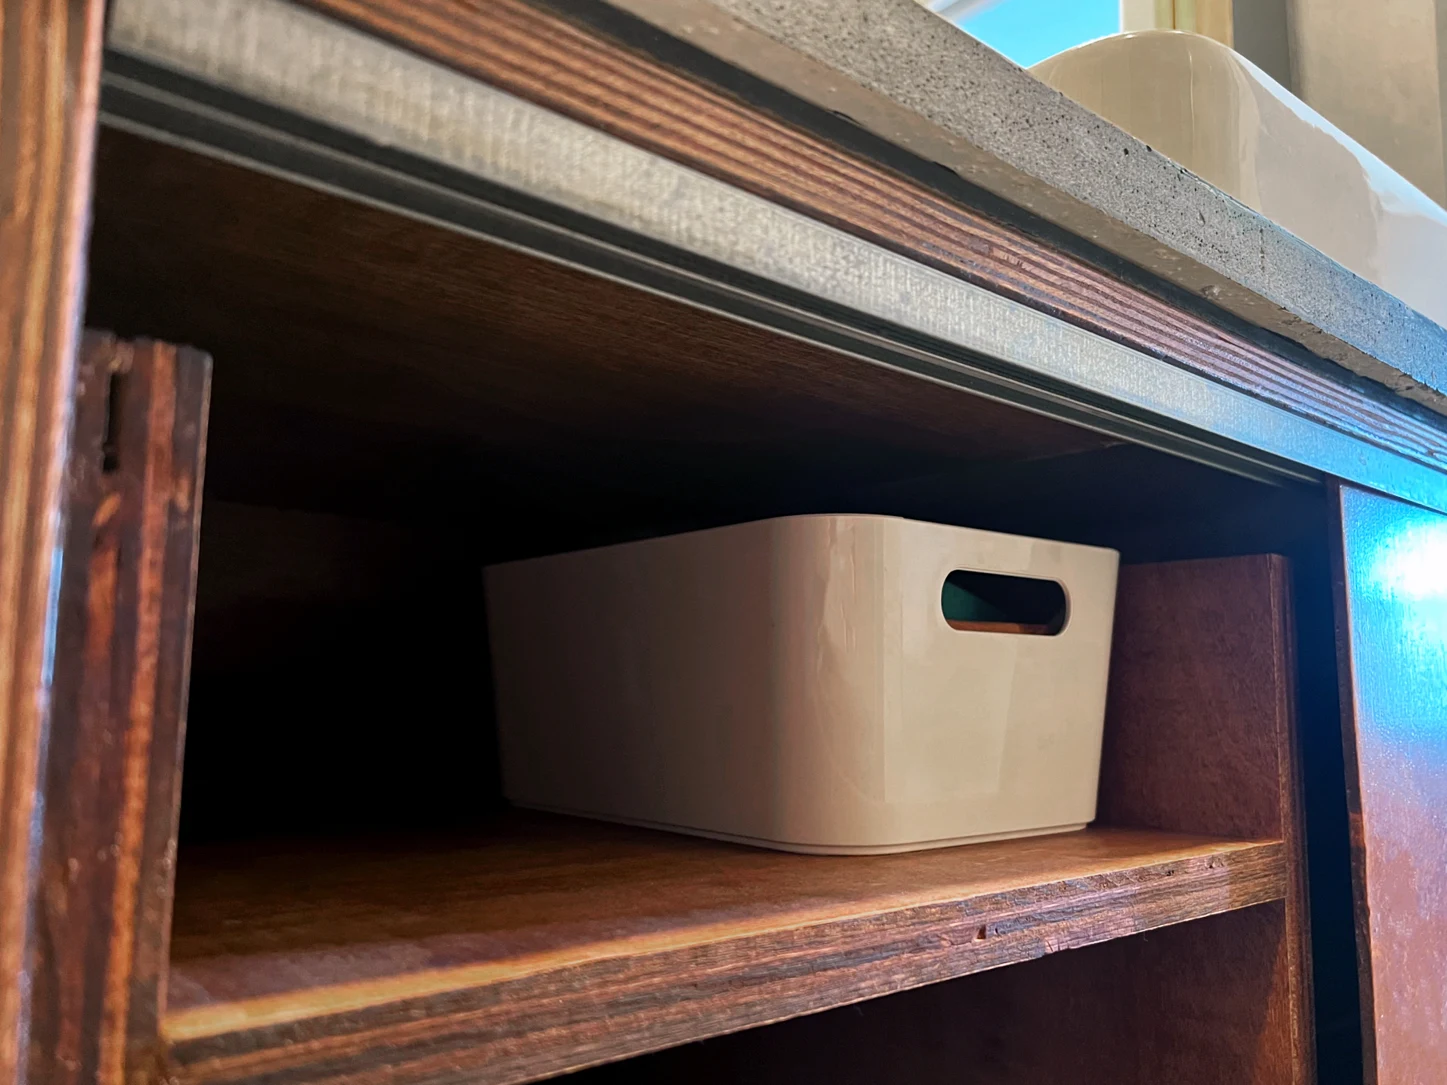
Luckily for me, this half of the vanity was clear and free.
So 23-ish" tall noting the metal door frame, 17" deep, 14" wide. Gotcha. Toilet paper roll height, allow for 6"; top shelf bin, allow for 6" too leaving whatever space in the middle.
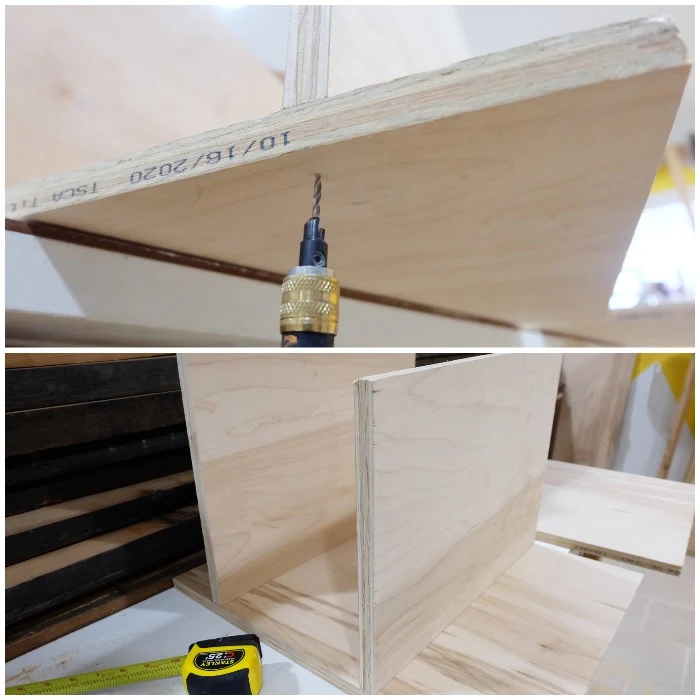
Real simple, cut the side pieces then the shelves.
By the way, I finally got myself a clamping straight edge* and holy mother of ___ that thing...whyyyy did I not buy one earlier?! Makes a Monumental difference. And omg oh no, Amazon was way cheaper than Menards. Dammit.
The trick with assembly was the "whatever space in the middle" in combination with the side panels not being full height of the cabinet space as it had to fit through the door frame so math. Math. I did get it right though, second try even, hallelujah!
What I did forget about though was the back support piece that I had just paid so much attention to for the spray bottle rack. Had to drag my shelf unit back downstairs and cut out L shapes at the top in the back so it'd fit.
I no longer had the Gunstock stain* so I used Red Oak, eh whatever, close enough. A little bit of paste wax* to finish, and voila, tada, tidied up organized master bath vanity! Yay!
Omg. How nice.
Things aren't tumbling, jumbled, falling out. Everything has its place. I was so excited and felt such relief, I was butt wiggle dancing around the bathroom. Woot, master bath vanity updates, gooooood stuff.
So go forth, hit that troubled vanity, or whatever spot that has been nagging at you and you too can be bouncing around the room!
*The stacking cabinet shelves, bins, spray bottle holders, flip drive drill bits, wood glue, RaniX, Bora clamping straight edge, wood stains, and paste wax are Amazon affiliate links. Mwah, thanks! Please see the "boring stuff" tab for more info.






Post a Comment
Please no spam or links, thanks!