So this is going to be controversial, this project. A cover up build-over of the jet tub in our master bath. And in the end, when the day comes that we sell, and hopefully this darn project will be done by then, I may have to take it apart. We shall see.
I know what you're thinking, so wait, what...whaaat is going on here? You're what now, covering over a jet tub? Are you nuts?
Yes. But no.
Hopefully this will make sense.
 |
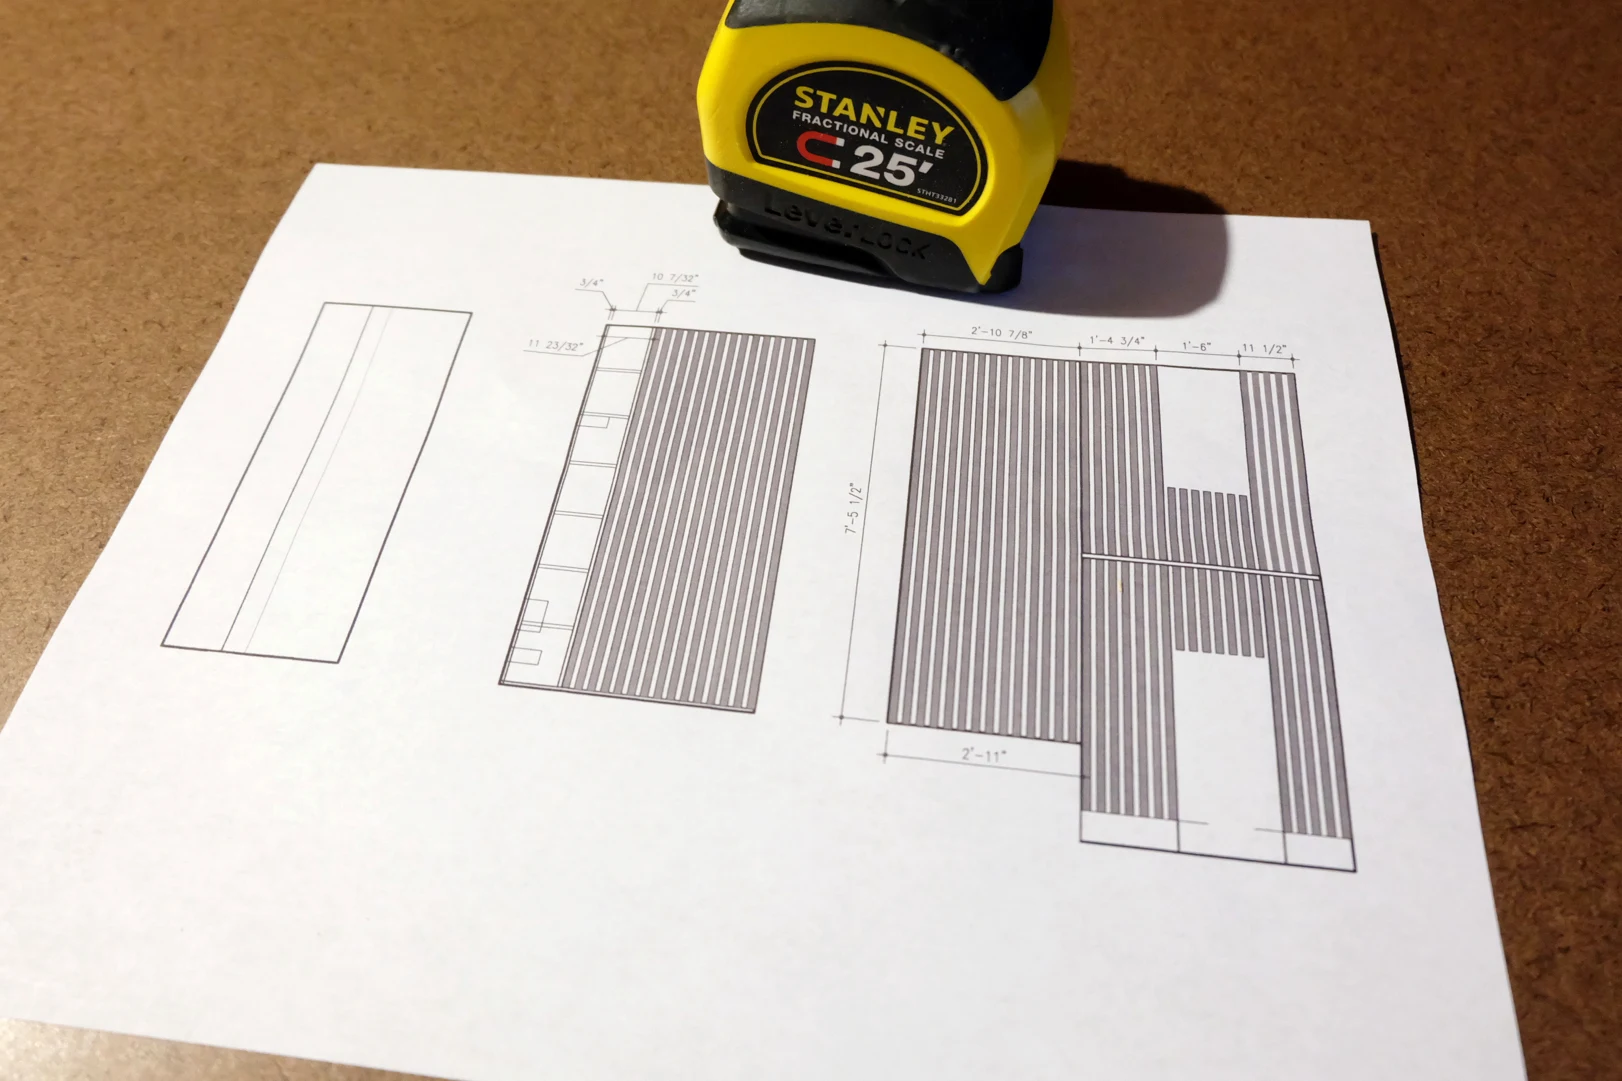
| The general plan here, the elevations of the jet tub area walls including behind the toilet on the right side. A lot of math. |
Now, before you get all hot and bothered and rip me a new one, pause.
This is our house, this fits our needs, it will not be for everyone, and just wait, see if there are ideas you can pull for yourself. Perhaps for an entirely different room, an entirely different project.
Don’t rip me a new one please, there’s no point except to be sh*tty and s*** on my day. I wouldn’t do that to you so please don't do it to me. If you don’t like this project or think it’s dumb or you plan to be a jerk, try a different post here. Thank you.
The premise comes from a place of creating a more attractive yet functional useable area in a small, storage-less room. Just so happens the jet tub is sacrificed.
If you've been following me here and my multitudes of projects, you know that the jet tub, while it works, as in it turns on, is a source of frustration.
It's oddly small, absolutely too small for Mike but mainly by the time the water gets up here and fills the tub (the tank is on the other side of the house two floors down, see the plans), it's cold.
Sure, an inline heater* would resolve that problem but here's the problem with that: finding the brand and model of this tub requires opening up drywall (the flipper didn't leave any access), then finding the exact inline heater that fits it, possibly hiring a plumber (shudder) to install it and likely opening more drywall to do so then hiring an electrician to install and wire up from the laundry room a dedicated circuit to run it.
Then rip out and redo the tile because I can't stand it.
Adding those general costs in my head versus the costs to cover the tub and buy us aesthetically pleasing storage area we can use....
Ok, still, I know, I get it, you're still staring at me with scrunched confused face. Jet tub. Cover up a jet tub. In a master bath. Controversial. Poor Pete the Realtor.
For now, put it all out of your head.
So the plan was. I didn't have a plan.
It took me a while to come up with a plan (see above drawing). And as I sit here now, it isn't complete either, the plan. Sometimes that's how it goes though. This came (is coming) together a bit piecemeal. Changed. Is changing. Changes. heh...
First, cover the jet tub itself. Easy peasy. Same time we picked up lumber for the laundry waterfall counter, we fetched more of the same nice plywood for the bathroom.
 |
| It is nearly Impossible to get decent pictures in this room so apologies for the crap photos. |
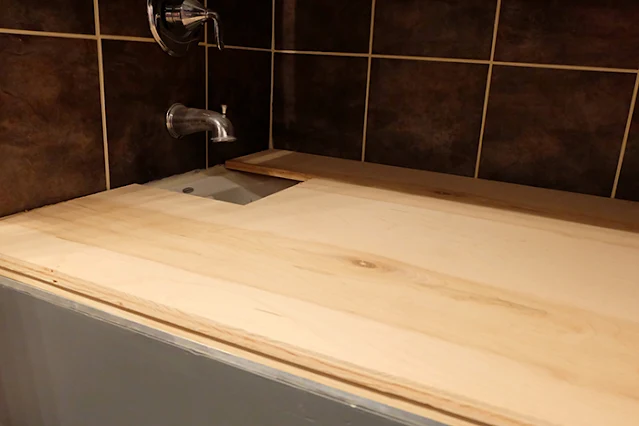
I cut out a rectangle where the tub spout is, just in case, and fit the plywood snugly over the frustration source. Goodbye. As the tub edge/lip is up over the little knee wall, I slipped a piece of one-by pine in there so there's no weird gap.
Ok. Shelves. I figured shelves would be a good thing. Ya know, storage.
Plus it would give me a place to hang towel bars so I'm not always looking at towels >first thing< in my face when I walk in here. A little pet peeve of mine of sorts it seems.
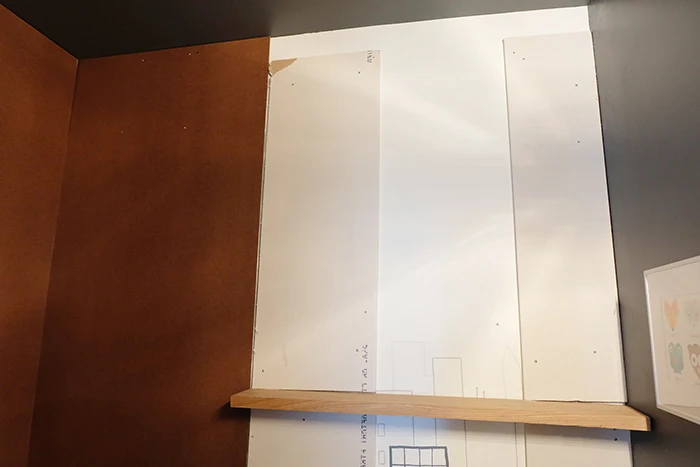
With more of the plywood and some shim pieces (lath actually I think, ha) attached to the wall over the tile, I slid a twelve inch by however tall slab up against the tile and attached it through the lath shims into the wall. It is Snug.
 |
| Scraaaaape. That's snug all right. Shelf side piece, up. Yes, I planned on repainting. Of course! Though I should have repainted the ceiling very first. You'll see why later. Be sure to cap the showerhead! |
Another piece of ply as a back for the shelf unit and I'm on my way.
Then my back said sorry 'boutcha and I was out for a long time and had to stare in literal and metaphorical pain at this dismal state of affairs. How frustrating.
But, on the upside, it was extra time to plan. Which was a good thing since I had to reverse engineer this entire project in order to build it in the correct order of steps. Meaning, a lot of figuring of how to attach things without adhering to or damaging the tile.
Eventually though, I was up and covered the opposite wall and long wall with masonite.* Same method, shims above the tile and attached through those. The bottoms are loose indeed and started to curl a bit which caused me some unease. More on that masonite later.
 |
| The shelf was more free wood from that furniture studio move which I installed using heavy-duty corner brackets similar to these. The brackets are covered over by the drywall so they're unseen. |
Some drywall behind the toilet to even up to the tile there. Yes, I had hand-painted/drawn a gray and black graphic cityscape behind the toilet at one point. It might make sense why later, stay tuned.
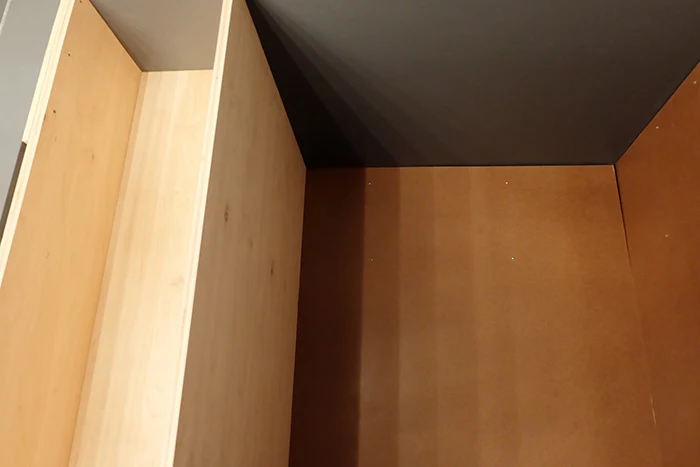
Last bit for now? The side piece for the shelf unit going the width of the tub. This piece helps keep the loose masonite edge close to the faucet side in place.
Here I attached a 2x4 to the plywood covering the tub perpendicular with the long shelf side piece, and another 2x4 up on the wall so I'd have places to nail into, along with into the edge of the back panel.
And tada, controversial jet tub cover up project, part one in a series.
There's a bunch more to come on this so stay tuned! Or if you hate it and me, come back for other less hate-worthy projects!
*The inline heater is an Amazon affiliate link. The masonite (hardboard) link is a Lowe's affiliate link. Mwah, thanks! Please see the "boring stuff" tab for more info.


I honest to god love where you're going with this! Far from giving you a hard time, I think it's a really clever solution to avoiding a major reno while getting what you actually need right now. Besides, as you said, you can always dismantle it down the road when circumstances change. This can be so cool and fun, can't wait to see part deux!
ReplyDeleteIt's gonna be a great day over here as you already made it so! I'm ecstatic and over the moon that you see what I see and totally get it. Thank you thank you so very much! *mwah* and giant hug to you!
DeleteLOVE your creativity! Always need more shelves!! DO not need a tiny coldwater tub except during summer heat wave (if no outdoor pool)! I happen to like unusual and you often come up with fantastic ideas. Think this is another one!! Thanks for sharing !!
ReplyDeleteAnd I looovve the super lovely words you left for me here! Thank you so much! I have to say, it does get raging hot here in the summer, a cold water tub sounds quite tempting but storage wins the day. A curtsey, thank you!
Delete