How did this one come about?
Wellll. So the hallway upstairs....
Which I have not updated you on of late. Oh, oops.
Remember the painted half-round? Right, so, happily, Mike was thrilled with this paint venture. Very thrilled in fact. More so than I expected thrilled.
So much so, when we happened to be in the hall together discussing said half round, he waved his hand around and said, "bubbles. Down the hall."
And I was all like ahhh gosh diggity-do, all righty then!
And I was all like ahhh gosh diggity-do, all righty then!
Turns out I misinterpreted his definition of "bubbles" and had instead went with mine. Whoooops. I think he's still happy with it though? I can say he was surprised. "I meant bubbles," with a wave of the hand. Ok, yeah, he likes it very much, he says.
But let's thank him for taking the idea one step further and making it even grander!
Oy jeez though, I'm up there taking photos of these can light shades just now and I redesigned the whole dang hall in my head again to highlight this project. Welp. All right. Added to list.
Right, so, okay.
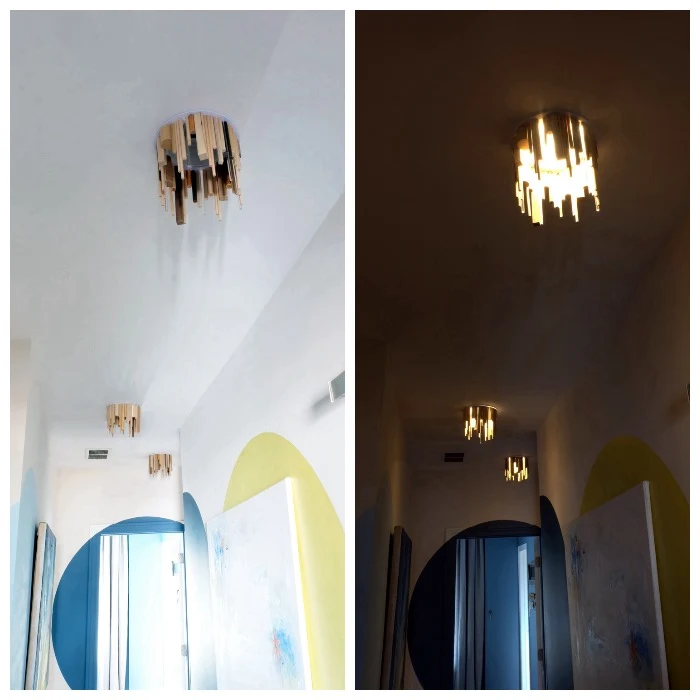
Long have I been pondering the recessed can lights in the hall as, while I am a general fan of recessed lights, it felt like these were a missed design opportunity in that the lighting could be way cooler.
 |
| Before. Outside our bedroom. |
I had pondered more of those recessed can conversion kits which are super fab but at fifteen bucks plus per,* plus new light fixtures, that idea added up fast.
Along came Hometalk with their fun program, me selecting dowels off their list of course because it seems I have a quirky fixation with them lately (but c'mon, they're cool, you can make multitudes of cool things...).
In actuality, this was the first of the projects I came up with but I was concerned it was too whackadoo. But, I assembled it anyway, nervously showed it to Mike, and he delivered a big giant stamp of approval.
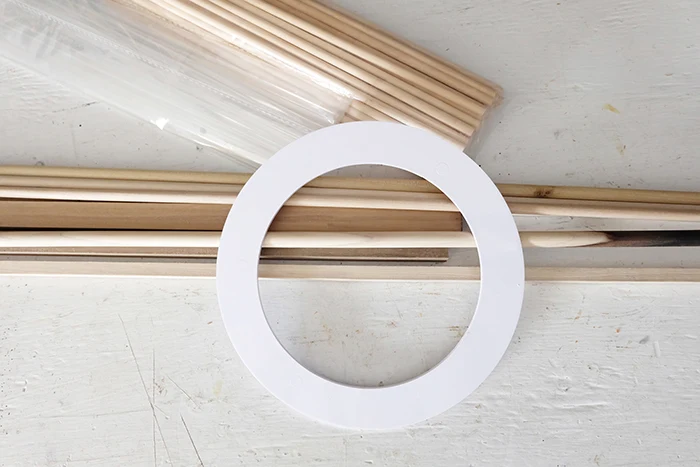
So what do you need for this? Pretty simple really:
- wood dowels,* various shapes and sizes
- acrylic dowels,* optional
- goof rings*
- sandpaper*
- hot glue*
- hot glue gun*
- T-Rex* double-sided tape or any other sturdy double-sided tape* or strong enough temporary sticky stuff
That last bit, the tape, check your recessed can lights first before buying any installation stuff as it could be the ring is supported by the cone inside the fixture. Mine are all one piece, the cone and ring, hence the tape.
Although I just spotted this* in fetching links for you and am terribly curious. Strong, removable, and reusable?! Huh. Interesting.
Ok! This project! So easy!
Just cut your dowels to random lengths or design it ahead of time and cut dowels to predetermined lengths. Use a band saw, a miter saw, a hand saw with a miter box,* snap the darn things and have jaggedy ends, any which way is great.
Heat up the hot glue gun. Sand any splintery dowel ends.
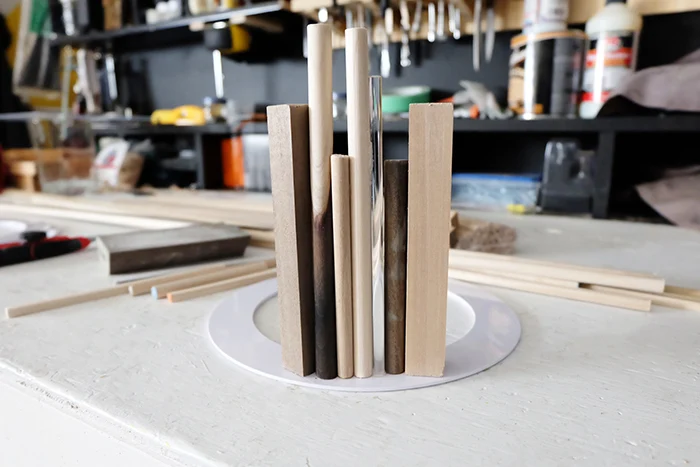
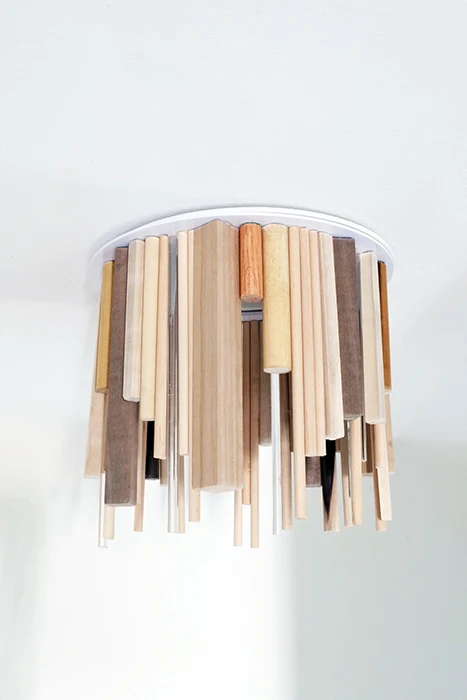
Pull out a goof ring. What a weird name. How did this piece of plastic get that name? Oh, ah. Anyway. Start gluing dowels to your goof ring however you want.
If you're using the recessed can interior cone to hold your light shade on, be sure to leave clearance for that to happen.
Once you get all the way around, done!
Cut minuscule pieces of tape, you seriously do not need much, tack them onto your goof ring, hike up a ladder, and smush these onto your fixtures.
 |
| Hi Samson! |
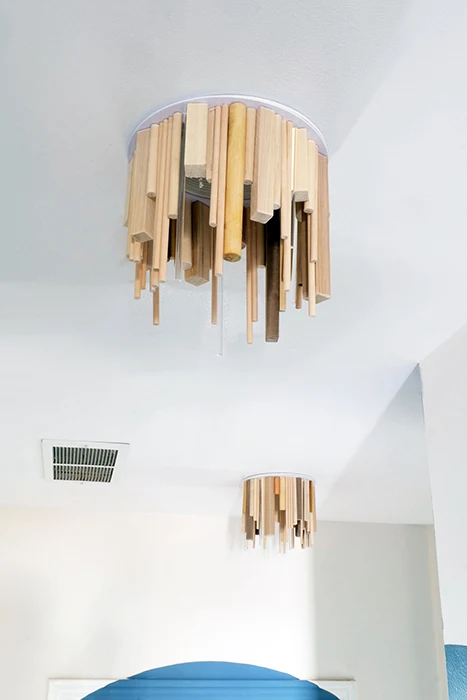
Voila! Tada!
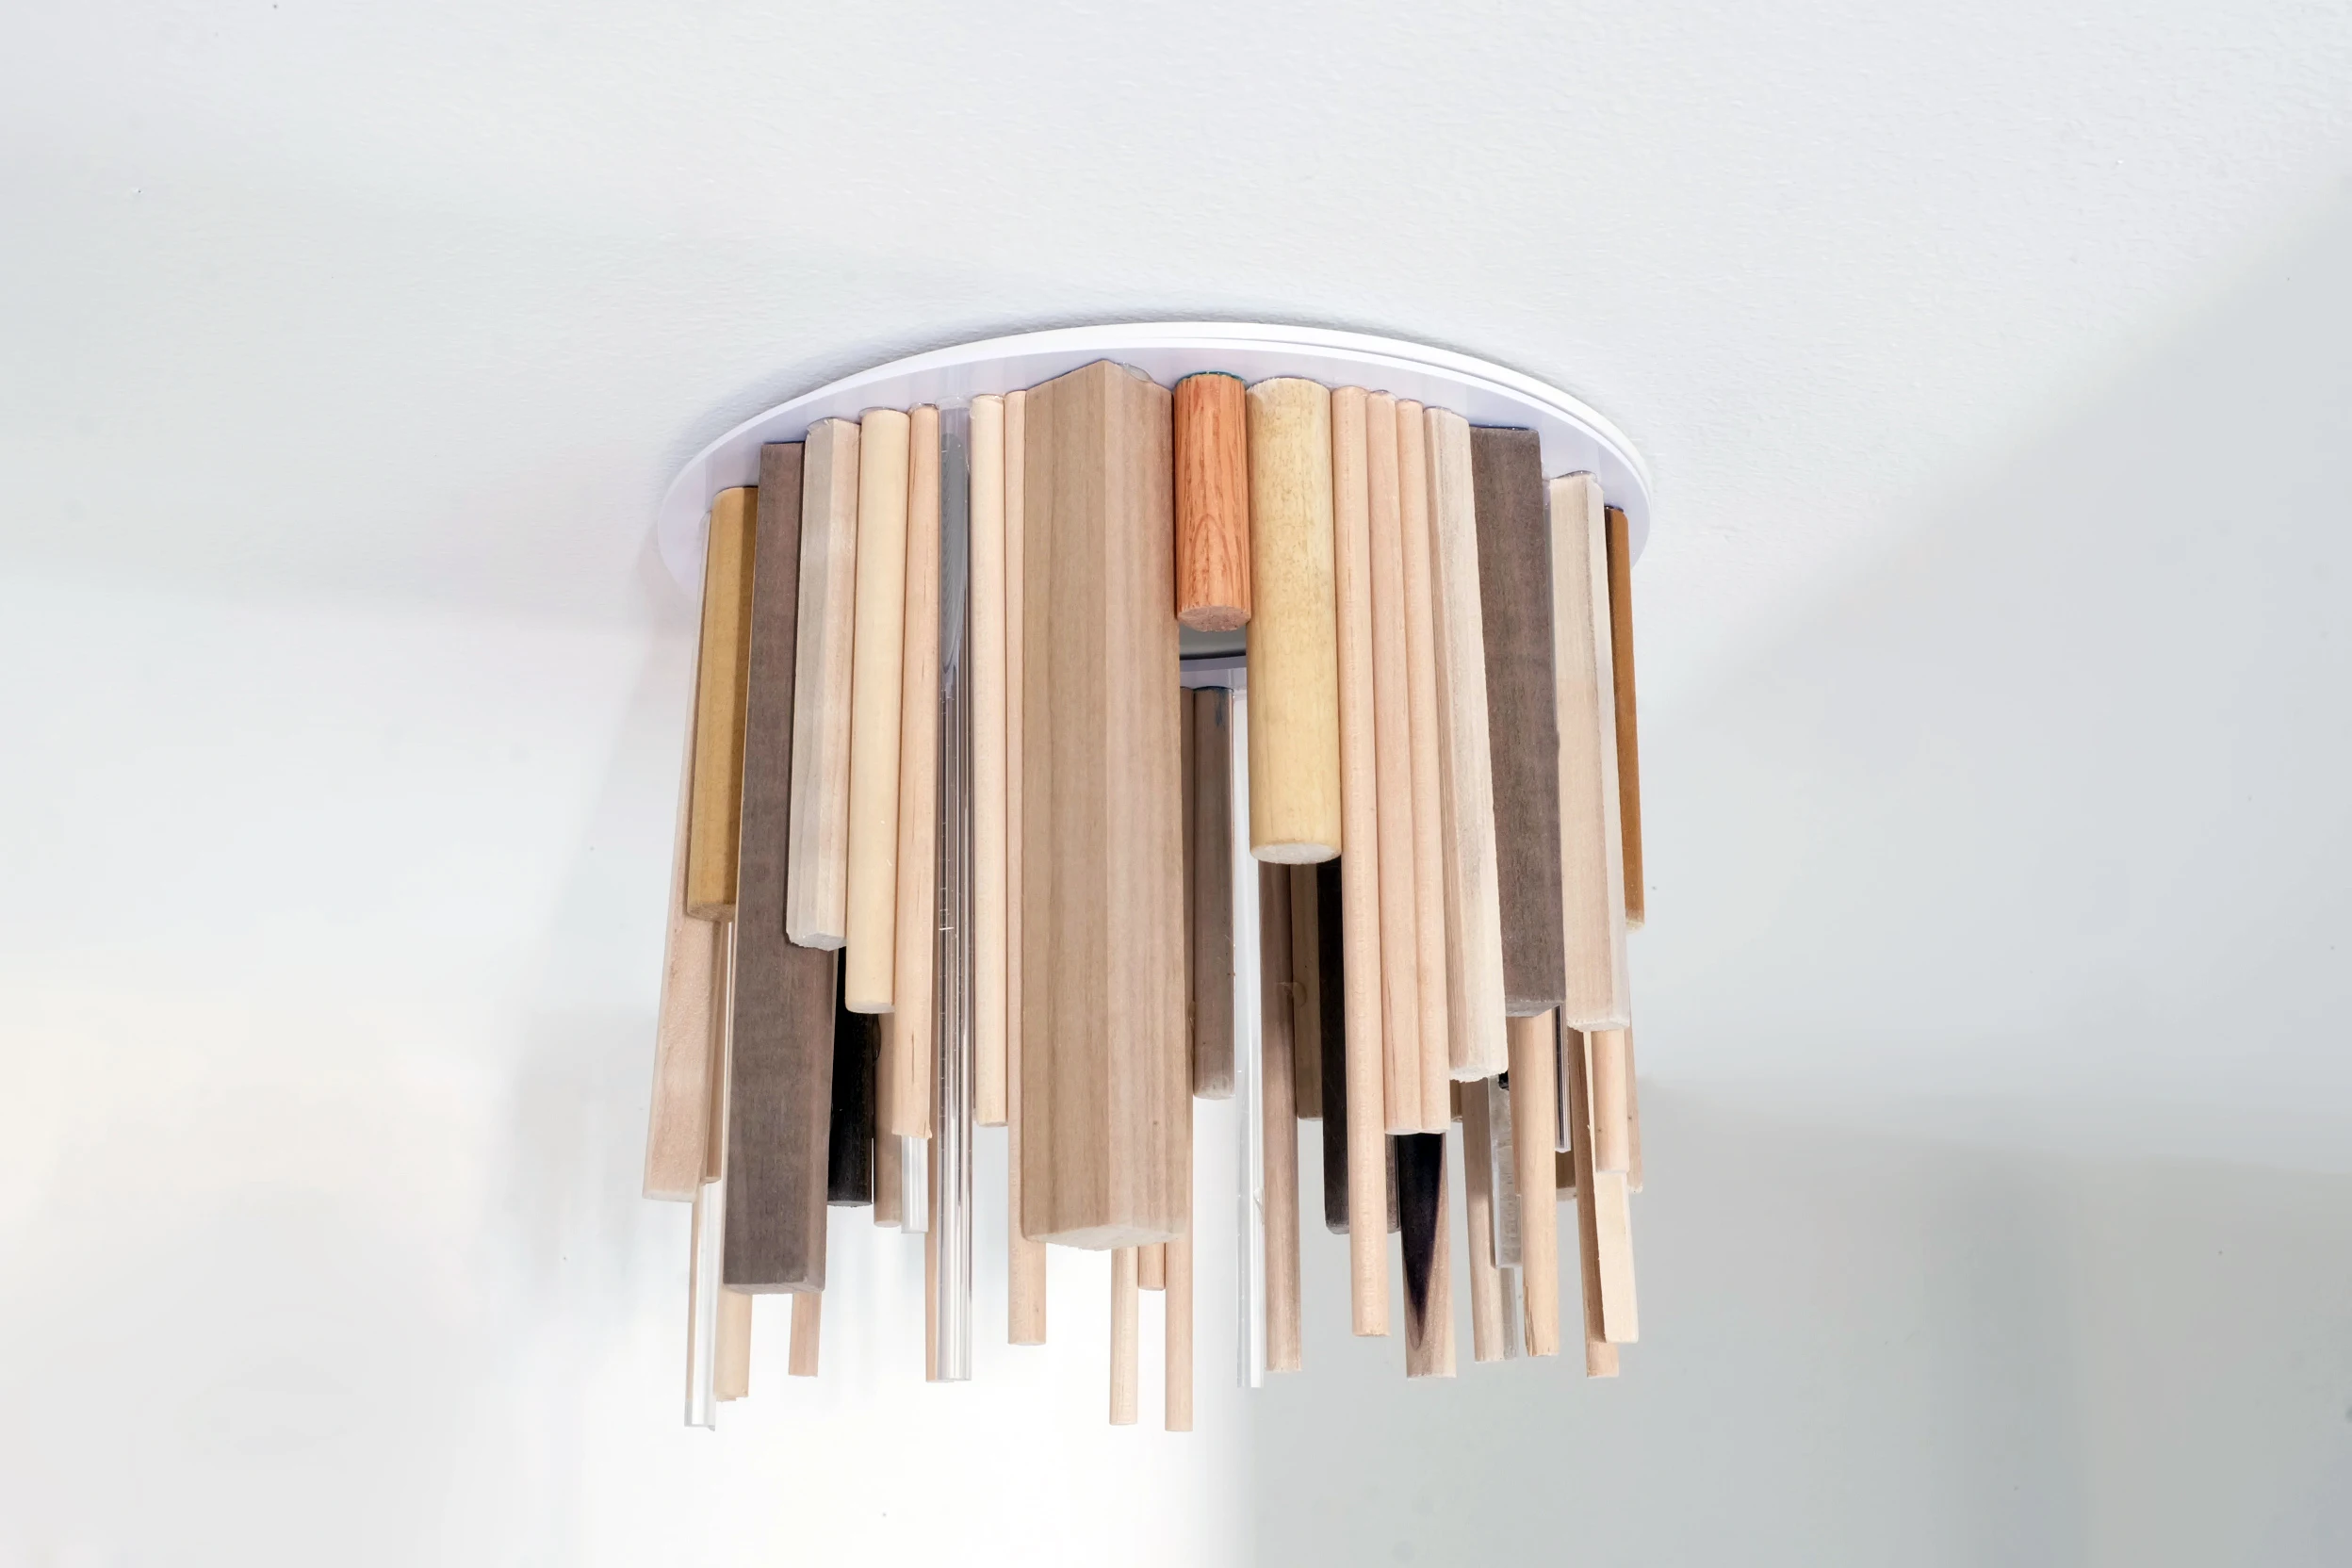
You've now crowned your recessed can light with light shade crowns for some awesome DIY dowel decor.
And for cheap too!
Feel free to paint, stain, seal, or what-have-you the dowels if you'd like. I liked the variations of colors in the wood itself so I left them as is.
Fun, right? So effortless too!
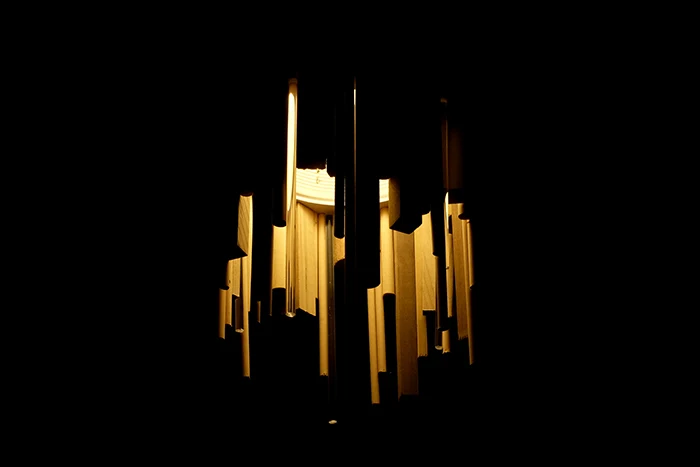
Tada, DIY dowel decor, recessed can light shades!
If this project got you going, imagine what you could do. Download The $100 Room Glow-Up Guide and see what’s possible.
*The wood dowels are a Home Depot affiliate link. The goof rings and sandpaper are a Lowes affiliate link. The hot glue sticks and hot glue guns are Michaels affiliate links. The recessed can conversion kits, acrylic dowels, double-sided tapes, and hand saws with miter boxes are Amazon affiliate links. Mwah, thanks! Please see the "boring stuff" tab for more info.





So cute and inventive
ReplyDeleteThank you so very much!
Delete