So to be quite frank, this was the project that originally kicked off the master closet Spring Cleaning design rabbit hole in my wee brain: how to deepen and extend shelves.
Specifically, obviously, the main ones in our closet where the stunning WE Cork wall is now.
Because. Heh. Because, back when I put these up, I cheaped out on the extra couple bucks for deeper shelves.
Dumb.
I have kicked myself ever since. Near daily. And near daily, I'd been pondering how to remedy the error of my cheap a** ways.
Because. Folded clothes droop over the edge of standard depth shelves and it makes me batty. It’s sloppy, it’s messy, it’s terrible. Bat. Tee.
So! I guess thanks to my past cheap a** self for being a bonehead, I now have this excellent opportunity to deepen and extend them.
And really, this is way better than deeper, plain all white boring store-bought laminate shelves. Especially given this swanky lux spring cleaning design upgrade!
Bonus? This is reuse; nothing was trashed.
Before all the shelves came down, I did some measuring and found I had a little less than three inches of depth to work with, of add-on shelf space, given the trim around the closet window. No problem. It's exactly all I needed.
Off to my second home Menards I scrambled, selecting some one by three finer grade pine, six pieces. They were maybe four bucks a piece? Super cheap. Way way way waaayyy cheaper than buying all new, pre-made deeper shelves at eighteen bucks per.
$24 > $108. Absolutely.
Right?! Quite proud of my cost-efficient self there. Further proud later because this turned out spiffier than I envisioned! Hang on, patting myself on the back.......
Ok. So, what was my supply list to deepen and extend these shelves?
- 6 pieces of 1x3x8' nicer grade pine lumber
- wood glue*
- pocket hole jig*
- pocket hole screws*
- pocket hole plugs*
- clamps*
- sanding blocks*
- wood patch,* optional
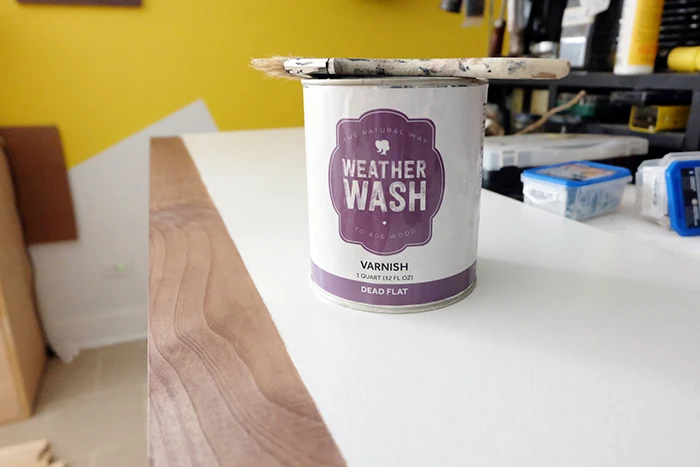
- WeatherWash Aging Wood Stain, walnut*
- WeatherWash Dead Flat Varnish*
Now, wait what the heck is WeatherWash and where did that come from?, you're wondering. I had some left from a wildly cool project that I'll elaborate on soon. WeatherWash is an exceptionally nifty water-based stain that ages wood as it dries. *Pew* mind blown, right?! It is fun, very very fun.
All righty! Let's continue spring cleaning the master closet and deepen them darn shelves already!
So easy, I almost feel weird making a whole giant post about it.
Grab a shelf, lay one of the sticks of lumber on top then trace underneath the overhang where you need to cut with a pencil. My shelves are in the neighborhood of six feet long.
With my spiffy miter saw, a quick zip and the lumber is cut to length. If you don't have a spiffy miter saw, you can use a hand saw and miter box.* I weirdly seem to be short a few photos, my apologies.
Now, the pine wasn't the exact thickness of the shelf, it was a hair shy so I tried to ensure whichever side was facing up aligned.
My goal was to strategically hide pocket holes as best as possible so about three or so shelves, the pocket holes faced up while on the other shelves, they faced down. Based on my short stature and eye level. Yours will vary.
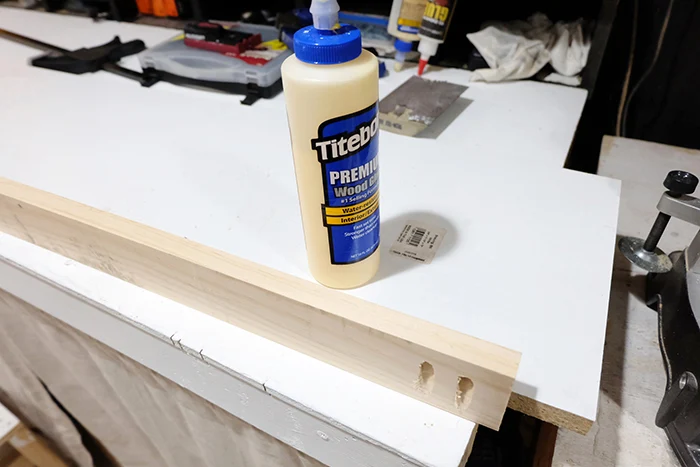
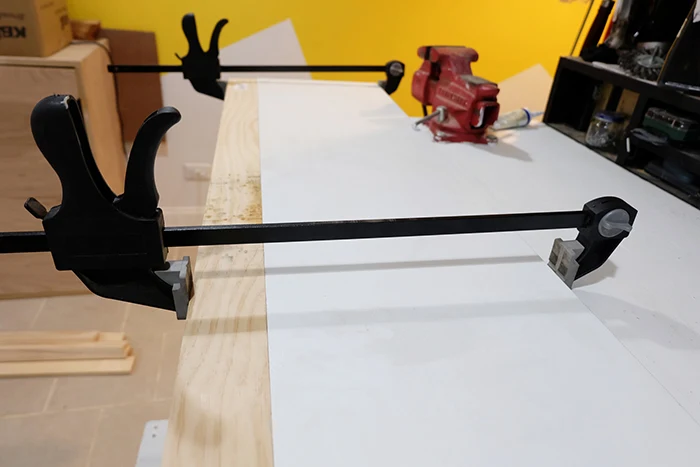
Spread an even line of wood glue along the edge of the pine, smear it even so it coats the whole plane then clamp everything tightly together making sure the top facing sides align.
With the pocket hole jig, I drilled out holes of random placement and quantity then darted in screws. Blob some glue into those pocket holes and slip in the plugs. Then, let everything marry up for the night or so.
Next day, pop the clamps off and voilá! Deeper shelves! I cannot begin to tell you how delighted I was about this. Something so dang simple yet will make such a giant difference in my daily life.
Given I still haven't mastered the ol' pocket hole jig and plug business, I had some areas to patch with wood filler. No problem.
Once everything was dry, a sanding of the patches, surfaces of the pine, and the corners and edges to make them less severe was in order.
Finishing time! Here you can do whatever works for you and whatever you've got going on. Paint, stain, leave the wood as-is and seal it up, whatever look and finish you want.
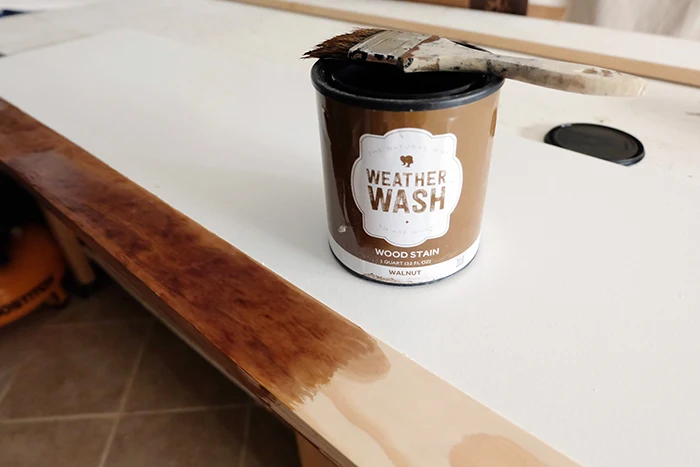
On went my WeatherWash stain, a couple heavy coats as the more you lay on and soak the wood, the richer the color.
No need to wipe the stain either, merely let it dry. Seriously, no wiping! Stand there and watch it age! Cool, right?! It dries super fast too.
Once it was dry, time to seal up my deepened shelf extensions with the varnish. Easy peasy lemon squeezy.
Now, the scary part: reinstalling the shelves atop the cork. Omg, big stressing out through several days of reinstallation contemplation as I did not want to damage the brand new, gorgeous cork in any way. But, I desperately needed those dang shelves back on the wall.
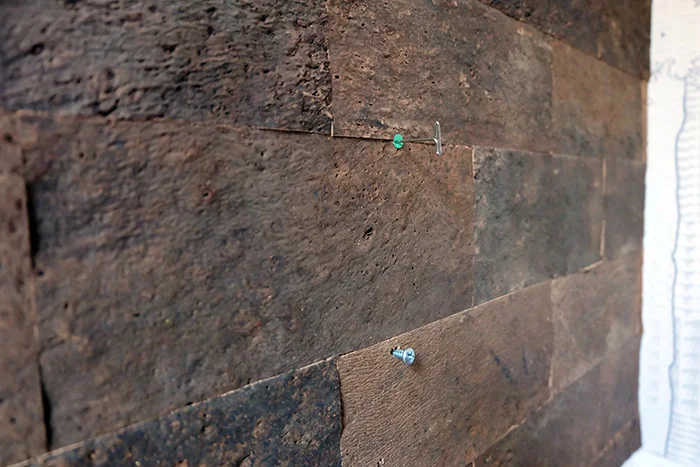 |
| I had mapped out, I thought, all of the existing wall anchors before adhering the cork panels but only found the first two. I used dots of painters tape to mark them, a t-pin found them inside the wall and wow, I was hella impressed with myself until I realized I didn't map the rest well at all. |
My math was off, things are a smidge awry, the shelves aren't in the same spots as they were but, alas, it's close enough and we have shelves again.
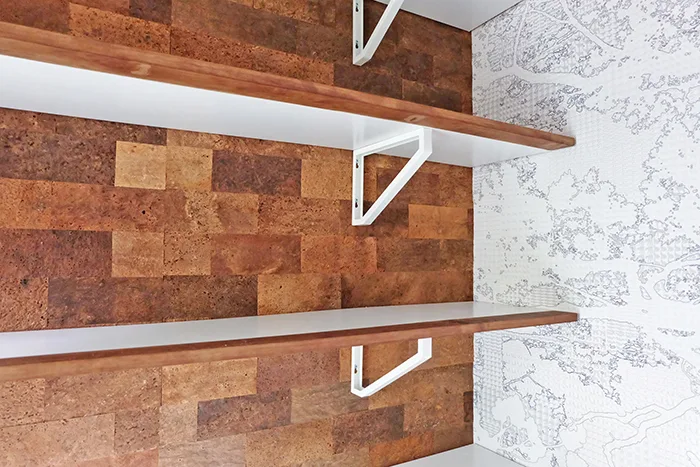
But now, nicer, deeper, fancier shelves!
And guess what?
Nothing hangs over the edge! Everything lays flat! It's not a mess! No flopping, droopy, sloppy stacks of visually chaotic clothes!
Myyyyy goodness I am so over-the-moon overjoyed about this. Holy cow.
Seriously, I know, I know, it's a just simple simple project but it has such an enormous impact. And the stain is perfect with the cork.
That's right, you know I did a butt wiggle dance or four.
So there ya have it! How to deepen and extend shelves while spring cleaning your master closet!
Here, a little video might fill in some of my photo gaps....
What's next now that my four main projects in this closet have been accomplished? Whooo, slow-pat myself on the back and nap, that's what.
But yeah. Suddenly my project list feels empty. Ooohh ho ho, we both know it's not though haha! A lingering one or two left in this here closet but let's get back to the bathroom!
*The wood glue and pocket hole jigs are Lowes affiliate links. The pocket hole screws, clamps, and wood patch/fillers are Home Depot affiliate links. The pocket hole plugs, sanding blocks, miter boxes, and WeatherWash products are Amazon affiliate links. Mwah, thanks! Please see the "boring stuff" tab for more info.








This project of extending and deepening shelves truly sparked my closet Spring Cleaning design journey. Admitting my past oversight of opting for shallower shelves, I've seized this opportunity to enhance functionality and aesthetics. Thanks to a cost-effective solution using pine, I've turned a previous misstep into a swanky and eco-friendly upgrade that perfectly fits the space.
ReplyDeleteFantastic! Sounds like we're in the same boat and thrilled the idea works for you, thanks!
Delete