Ugh I tell ya...Why does everything break at once?! Ya know?! I'm not necessarily a believer in Mercury Retrograde but seriously, lately?, I might change my tune. So today, it's how to install a kitchen faucet and replace a garbage disposal.
Heh. Yes. Both.
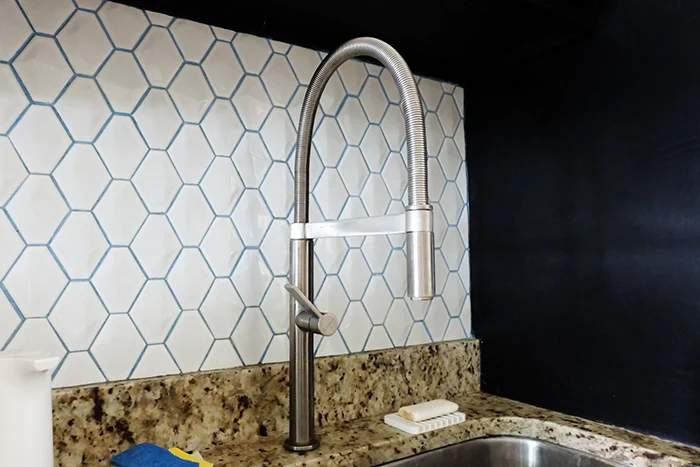
First our kitchen faucet started leaking in a weird spot, up where the flexible hose met the tall stem. And ah boy, was I oh so super sad. I love this faucet. It's simple, uncomplicated, modern, tall, and yeah, simple.
Of course my first inclination was to fix it but a fix wasn't apparent so ugh, I was sadder. Thinking back, I spent sooo long searching for a swanky yet affordable kitchen faucet, I was not excited to search anew.
But. I was hosed.
Ah, I can still make a pun though.
Only thing about that kitchen faucet was that it was sprayer-less. So, setting out, I hoped to fulfill that spraying desire, wishing said sprayer would assuage my sadness.
Goodness, faucets have changed! I sought something similar but lo, I was sadder yet to not find it. Or, I should say, one that was similar but wasn't all plastic parts.
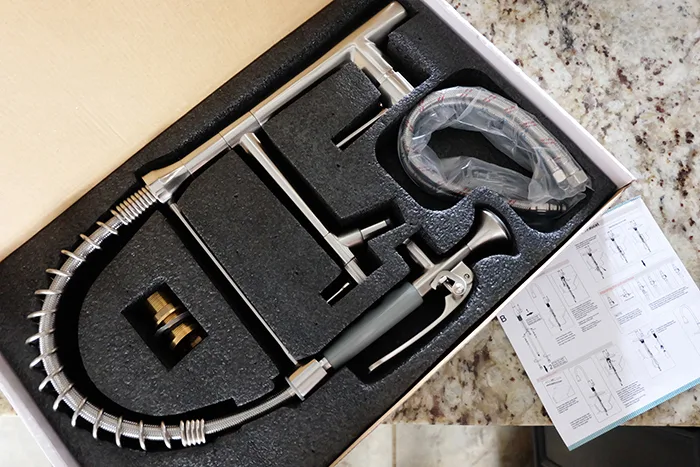
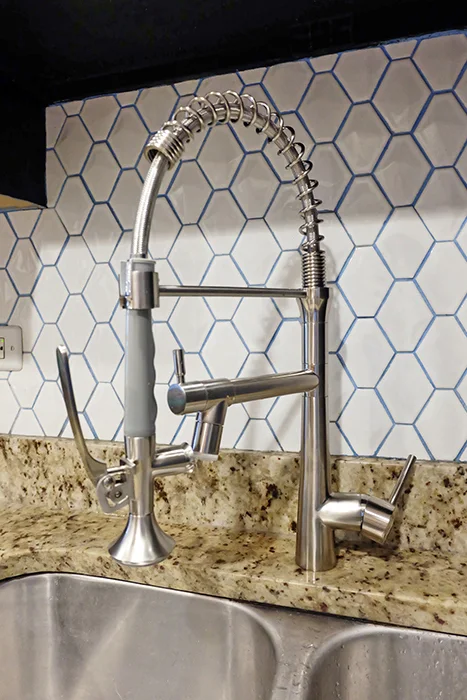
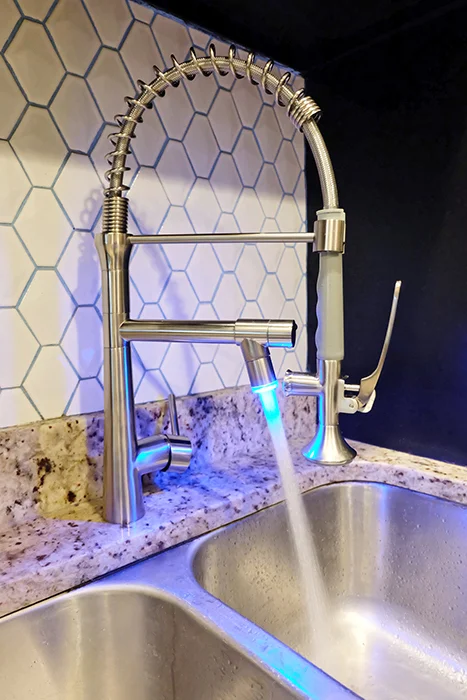
Pressed, because after all this is our kitchen, I presented Mike with about three or four or five options and he picked similar to this,* a sort of commercial sprayer type as surely it appealed to his restaurant days of yore.
It arrived, I showed it to him and after a pause, he said, "Oh. It's busy." And yeah, it is quite busy. Busier than I expected. Personally, too, I find LED's in faucets terribly cheeseball and ridiculous, but that's just me.
Anyway, to install, it's really quite straightforward and, I'm not trying to put plumbers out of business or raise their hackles, but honestly, it is such an easy DIY. The hardest part is rooting around in a tight, dark space.
First, gotta remove the leaky one. Aww man.
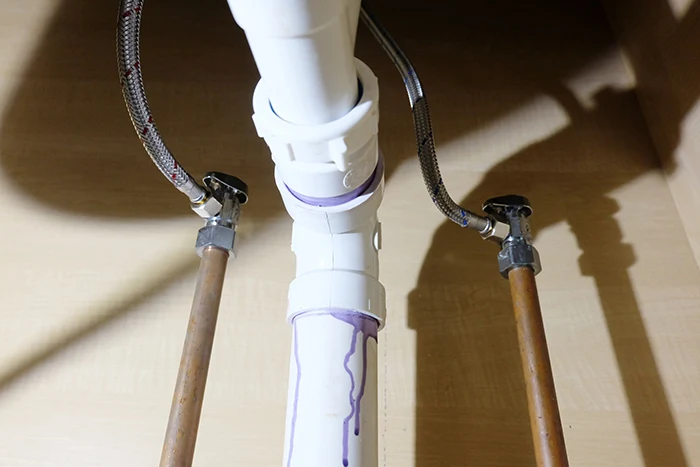
Turn off the water supply lines at their little knobs under the sink then test the faucet juuust to make sure it's thoroughly off.
Grab a little bucket, a rag, and possibly a set of pliers* or a wrench* and unscrew the hose lines from the water supply. They might be pretty tight, FYI. Be careful in general as you don't want to go breaking more things.
Ok! With those off, merely unscrew whatever contraption is holding your faucet to your counter underneath. In my case, it was a spiffy tall black plastic part so it was extremely easy. In hindsight, wish I had kept that part, dammit.
 |
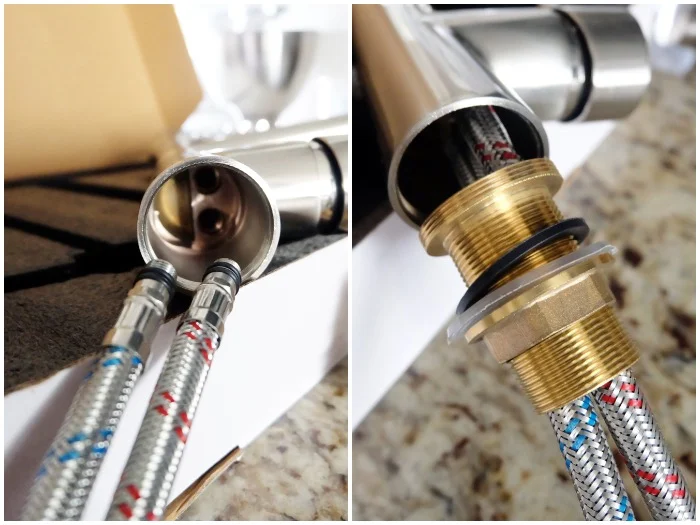
| *Every* kitchen faucet should have this type of nut on it to make installation a cake walk. Just twist. |
If it's a thin brass nut, you might need a bigger wrench.* Or smaller, depending on what's in your way.
And voilá, grab the tissues, the old one is out! Ahh man! *sniffle*
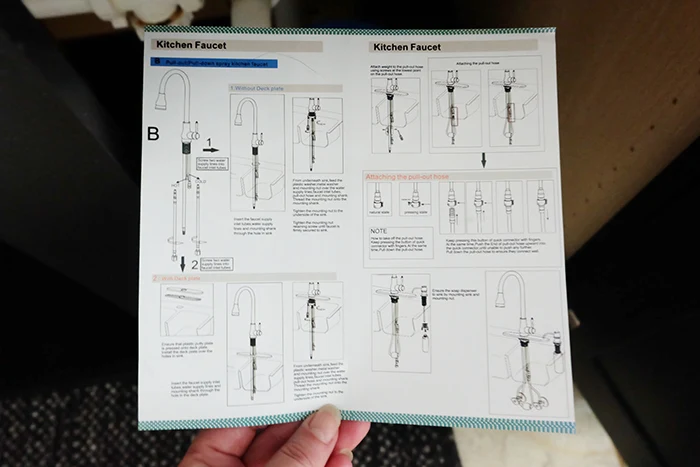
You probably won't need the directions that came with the new one but it's never a bad idea to peek. Essentially you're doing everything in reverse to install the new. How uncomplicated, right?!
One thing you might run into, which I did so check very ahead of removing anything because I learn the hard way, is that the water supply lines that came with the faucet were ohh way too short.
And weirdly no big box stores carry this type which is super confusing to me so I ordered from Amazon. The type with one male end.*
With those now in my hot lil' hands, it was go time.
Clean up around the hole in the counter all nice first, replacing caulk in the area as necessary as I did.
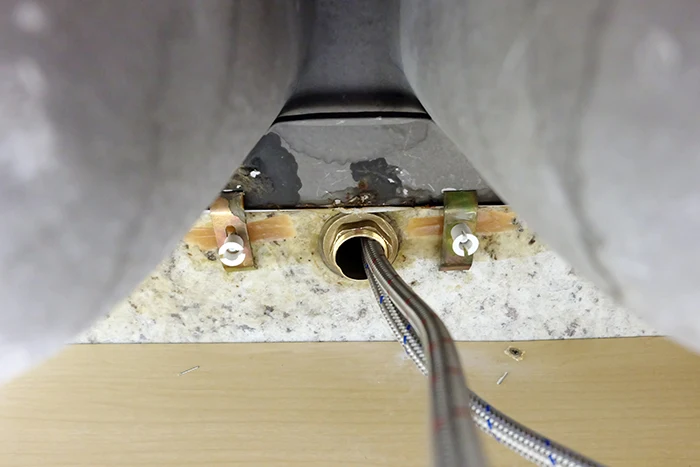
Next, twist the water supply hoses into the faucet bottom then feed them through the counter hole and try to, if you're doing this alone, set the faucet in the position you want, and grab the hoses from below to pull somewhat tight.
Feed on the part that screws the faucet to the counter and tighten the faucet down. Again, dark cramped annoying space with a thin brass nut is, um, a wee tricky, but determination will get you there. And a small channel lock.
Twist the water hose nuts onto the water lines, tighten but don't be excessive, and slowly turn the water back on. Check the whole shebang for leaks and you should be good to go!
For added anti-leak assurance, you can wrap that plumber's silicone pipe tape* at connections.
And voilá, new faucet* in twenty minutes!
I know, I make it sound so easy because it is that easy. Don't live with that icky faucet you hate a second longer! You can do this!
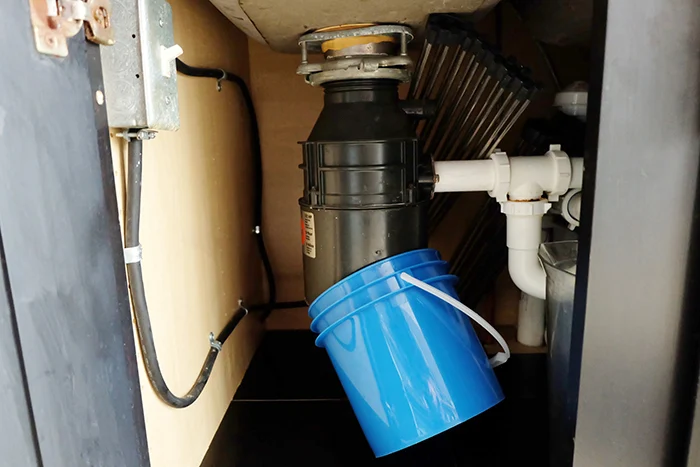
Then a week later, aw man, what the....what's all this water under the sink? The new faucet? No. The garbage disposal rusted through the bottom. Crap. Drip. Drip. Drip. Sigh.
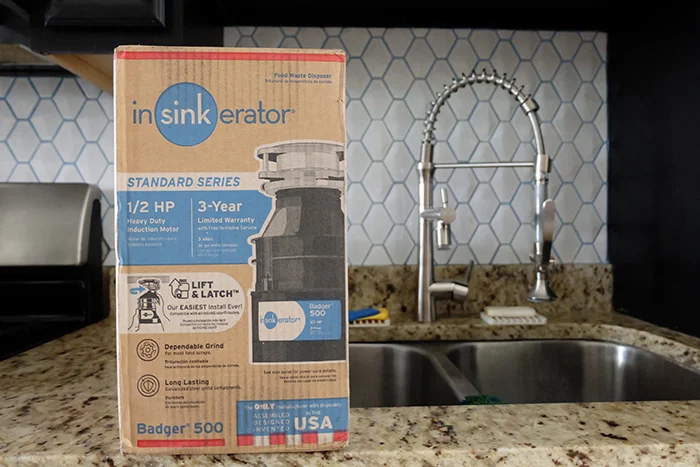
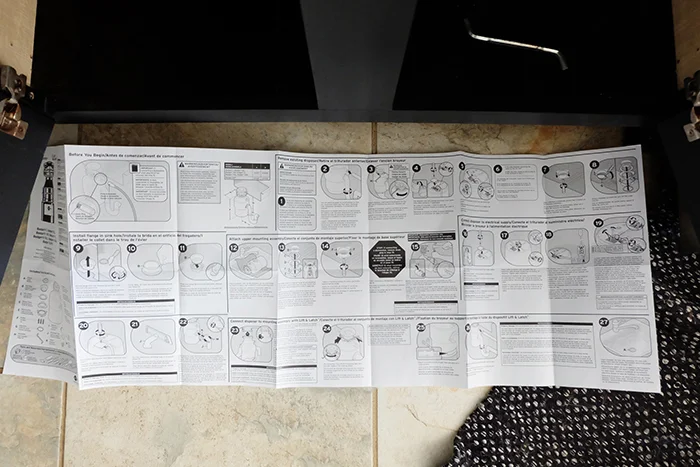
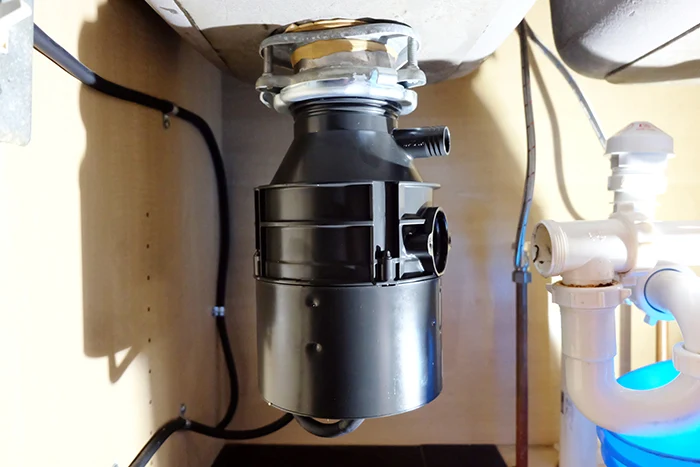
Mike ordered us up a new one and thankfully, oh my goodness thankfully, he magically, accidentally got us the same brand,* same model* as that shrank the twenty seven, yes twenty seven steps, by a lot.
I have to say, I was intimidated by replacing this thing but thankfully, for once, the instructions were good. And though it took some time as I was taking my time because of aforementioned intimidation, I got it.
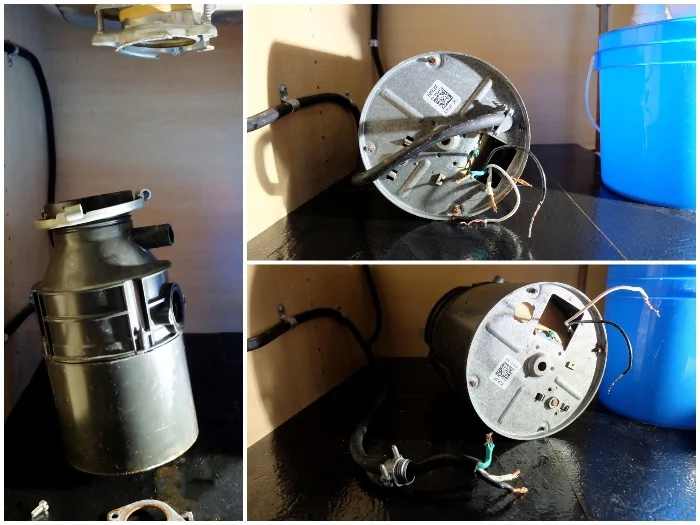
It was mostly twist the old off (turn off the power at the breaker!!**), undo a little bit of wiring, then much like the faucet, redo everything in reverse to install so in the end, it was much easier than I feared. If I can do it, you can do it.
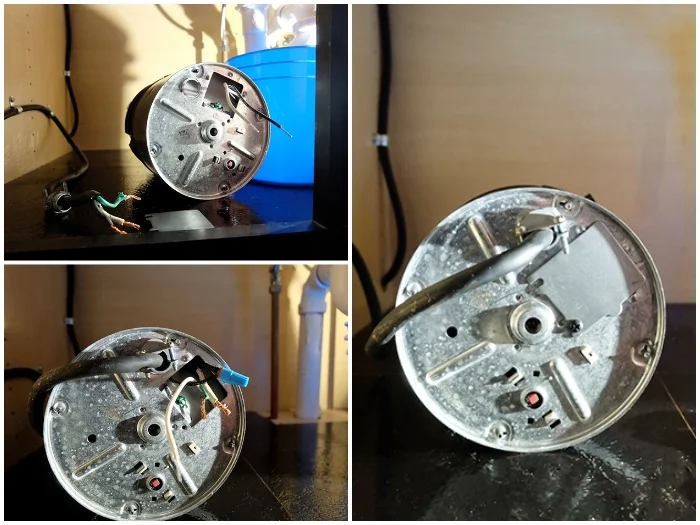 |
| Top left, opening the new covers to wire. Bottom left, pulling wire through and connecting. I used outdoor wire nuts* because, hey, water in the vicinity, why not. Right, all done wiring! |
One thing you should not do? Be on the phone with your charming husband, distracted while skimming the directions and knock out a part that can't be replaced: the dishwasher drain line cap.
Panic!
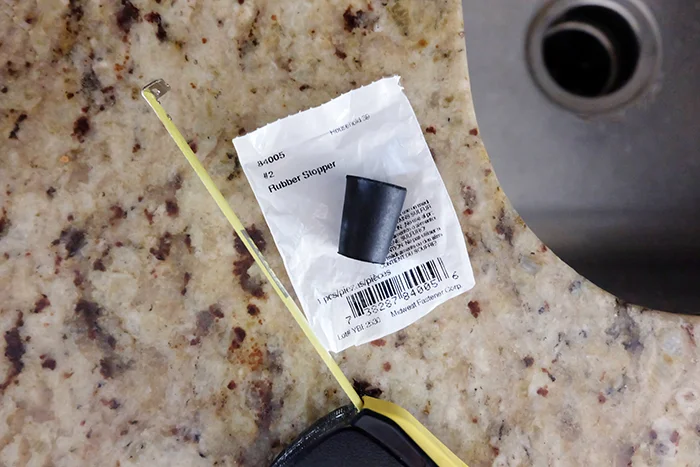
No worries if you do though because thankfully all you need is a cheap #2 sized rubber stopper.* Cram that sucker in, gently bonk it with a hammer to jam it all the way in, and you're golden. dusts off hands, whew!
But. It's me.
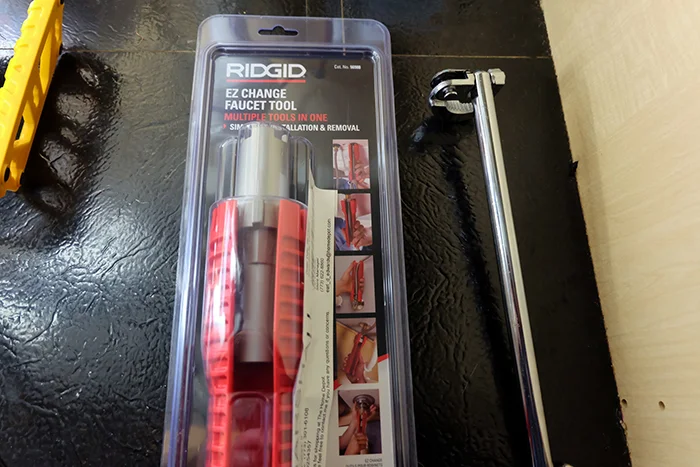
The faucet base started twisting all around and in a further effort to tighten that challenging little nut, I bought a basin wrench* which, nuh uh, who invented that difficult tool? So I got this tool* but it was the incorrect tool for this particular nut. Nuts.
Then the hot water hose line was dripping at the faucet. Then the cold water hose gave out, spraying everywhere at the water connection. I took everything off and out, ordered new hoses, reinstalled, and fingers crossed we're good now.
So it's all easy, how to install a kitchen faucet and replace a garbage disposal. It might take a hot minute or two but it's absolutely DIY doable.
But then....
Guess what else broke? Because everything comes in threes, right? Our air conditioning went out on the very hottest day of the year, 109°, one week after the above two chumps tapped out. Three weeks, three brokens.
Yep. That was neat. Thankfully we didn't kill each other in crabby heat rage. At least we had water and could dispose of parts if needed.
All jokes aside, stay tuned for more fun soon!
A Finn update: his cancer is back. We are thrown for a complete and utter total loop as we were given the all-clear a month ago. We don't know what's ahead. We're devastated.
**Disclaimer: Electricity is dangerous. It can hurt you. It can kill you. Bad wiring can burn your house down. It's best to hire a qualified, licensed electrician if you don't know how to wire things. Do not attempt to wire anything without the proper knowledge. Do not ever take wiring advice from me. And do not blow your house up.
*The similar kitchen faucets are an eBay affiliate link. The kitchen faucet water line hoses, plumber's tape, new faucets, outdoor wire nuts, and rubber stoppers are Amazon affiliate links. The pliers, wrenches, plumbing wrench tool, and disposals are a Home Depot affiliate links. The wrenches and basin wrenches are Lowes affiliate links. Mwah, thanks! Please see the "boring stuff" tab for more info.





Aww---so sorry to hear about Finn. 😥 Praying for a turnaround---cancer to be gone completely and forever!
ReplyDeleteThank you so much, Tina, I very much appreciate your kind words. We do too, we do too.
DeleteYour faucet saga is both relatable and entertaining! It’s frustrating when things break, but your DIY spirit shines through. I love how you’re tackling the installation yourself—such a rewarding project! The new sprayer sounds intriguing, even if it’s a bit “busy.” Can't wait to see the finished look!
ReplyDeleteOh thanks so much! It is indeed frustrating! I really appreciate your super kind compliments, thank you!
Delete